Saturday, May 21, 2011

Easel Card for a guy!

This was my first easel card that I have made to give away.  I have made several for practice but never have I given one away.  I made this card for a man in our church who loves the Lord and has such a great walk relationship with Him.  Awhile back he expressed that he was a little discouraged...so I thought that a card with a few words of encouragement in it would help.  Also, he told us(my family and I) about an amazing experience he had with a butterfly.  Later he told me that everytime that he sees a butterfly that it is his reminder that God loves him.  Isn't that so neat!  Well this is what I came up with. 

I used:
Once Upon A Child Cart.
Cardstock
Blue stamp pad
Tim Holtz Distress ink:  Coruroy
Velum paper for the flowers
Martha Stewart Hydrangea punch
Stampin up Stamp (butterfly is cut out from the actual picture in the stamp)
Stampin up water color pencils & blending pen
Dark brown "string" from my stash

I hope you like what you see!  Thanks for stopping by and have a wonderful day!

Wednesday, May 18, 2011

Sweet Baby Girl!

I am sooooo excited, I just got my Kate's ABC's Cartridge!  Wooohooo!  Then I didn't know who to make a card for that would be so girly, then my friend had her baby girl!  And I said, "Perfect"!  Now I have someone that would appreciate a girly look of a card.  So this is what I came up with using my new cart.  I think it turned out very cute.

I used:
Kate's ABC's Cartridge
A Child's Year Cartridge
Pink Ink Pad
Tim Holtz Distress Ink:  Brushed Cordouroy
Velum Papers for flowers
Stickles
Pink Brads
Pink Sheer Ribbon from my stash
Pink and brown Card stock
The floral paper is from a pre-made card that I liked the paper so much that I had to use for this card.


Well, thanks for taking time to look at my card, and may you have a wonderful day!

Tuesday, May 10, 2011

Why is it called an exploding box?

Here is a  quick video of the exploding box being opened and why it is called that.  Just in case any of you have never seen or heard of them.  Enjoy my VERY short clip of it! 


Now, I hope you understand why it is called that! 
Thanks for watching and have a great day!

Monday, May 9, 2011

Reveal #2 Exploding Box

Now this box was for my wonderful Mother-in-Law.  I used different papers and colors and different embellishments.  I also used a slightly different approach to the lid on her box, in its size.  I absolutely love how hers turned out, too!  They both were so totally different yet so beautiful.  I will defiantly be doing more of these and maybe with some small family photos the next time. 

I used:
K&Company Paper: Life's Journey
Cartridges I used:  A Child's Year, Blackletter, Gypsy Wanderings, Sweet Treats
Recollections Pearl Stickers the cream color and the turquoise blue
Tim Holtz Distress Ink:  Brushed Corduroy
Silver Stickles for on the roses

Stampin Up stamp for the butterflies and then cut out and colored with water color pencils, and the blended with a blending pen
Pop Dots
Two different kinds of  ribbon that I have had from years ago
Overhead projector sheets/Acetate sheets for the floating butterflies
Lots of ATG glue
Mother's Day stamp from Hobby Lobby
Tattered Angeles Glimmer Mist: Mustard Seed
Mother's day quotes/poems
Loads of time and love put into this box.  I really enjoyed doing this one too.  Lots of time squeezed in between class in school and whatever little chance I got.  Alot of time but the end result was so worth it.  And the Ooooo's and Ahhhhh's made even better!
Well, here are the pictures of my Mother-in-Law's beautiful box.


Outer Layer

Outer Layer

Middle Layer

Middle layer 

 Center layer is similar to my previous one so this is the only difference other than the poetry!

 Center layer completely assembled with handmade flowers and leaves and hand stamped and colored and cut out butterflies.

The outside with the lid 

Up close to the lid with the velvet bow, handmade flowers and butterflies and leaves.

Both boxes completed and together!

This is my wonderful Mother-in-law opening hers!  I think she liked it!  It was so much fun to wait, and the anticipation of waiting was so worth it!  I love both the Moms in my life they are both so special to me, so they deserve something special.  So this was my labor of love!  I don't know what I will do to top this for next year, though.  I better start looking and learning something new!  LOL

Well, thanks for looking and being patient and waiting for the reveal.  I hope you enjoyed seeing the results of the boxes.  Stop by again sometime soon.  I hope you have a wonderful day!


The Reveal #1 Exploding/Magic Boxes

Well, I hope that any of you that are moms had a very wonderful Mother's Day!  I know I did!  We celebrated Mother's day and my oldest daughter's 14th birthday all in the same day.  So it was a very busy day!  It was a very great day with family and most importantly, our moms!

These are the pictures of MY Mom's Exploding box, (or also known as Magic Boxes).  It turned out amazing!  I was so pleased and excited to share it with my mom...for the past week or so, when I was on the phone with her I wanted to tell her what I was doing and when she came over I wanted to show it to her, too.  Well the day finally came and I finally got to share and show it to her.  I think it turned out amazing!  I sometimes still can't believe that I made this box.  Thanks to my Cricut it made it so easy! It was very time consuming, but oh so rewarding to wait and give it to her. 

I used:
K&Company: Hannah Scrap Pad, double sided paper
Cartridges used:  Blackletter, Inde Art, Plantin SchoolBook, A Child's Year
Potpourri Basket
Gold Stickles for on the roses
Stamin Up stamp for the butterflies and then cut out and colored with water color pencils, and the blended with a blending pen
"Rhinestones"
Pop Dots
Two different kinds of burgundy ribbon that I have had from years ago
Overhead projector sheets/Acetate sheets
Lots of ATG glue
Mother's Day stamp from Hobby Lobby
Cuttlebug and I can't remember which folder I used.
Jim Holtz Distress Ink:  Brushed corduroy
Tattered Angeles Glimmer Mist:  Mustard Seed
Lots of time and LOVE!  I can't remember all the details but if you have any questions, please don't hesitate to ask.  I will do my best to answer it for you. 
Well as promised here is my pictures of my mom's completed box.


 This is the outside of the box, before opened to reveal the contents.

The top of the lid

As you open it, this is what it looks like to look down in it.  Cool!

The inside, showing you the contents and layering and pop dotting and the Acetate strips to make the butterflies fly! 


The top layer, seeing all of the pictures and poems about moms


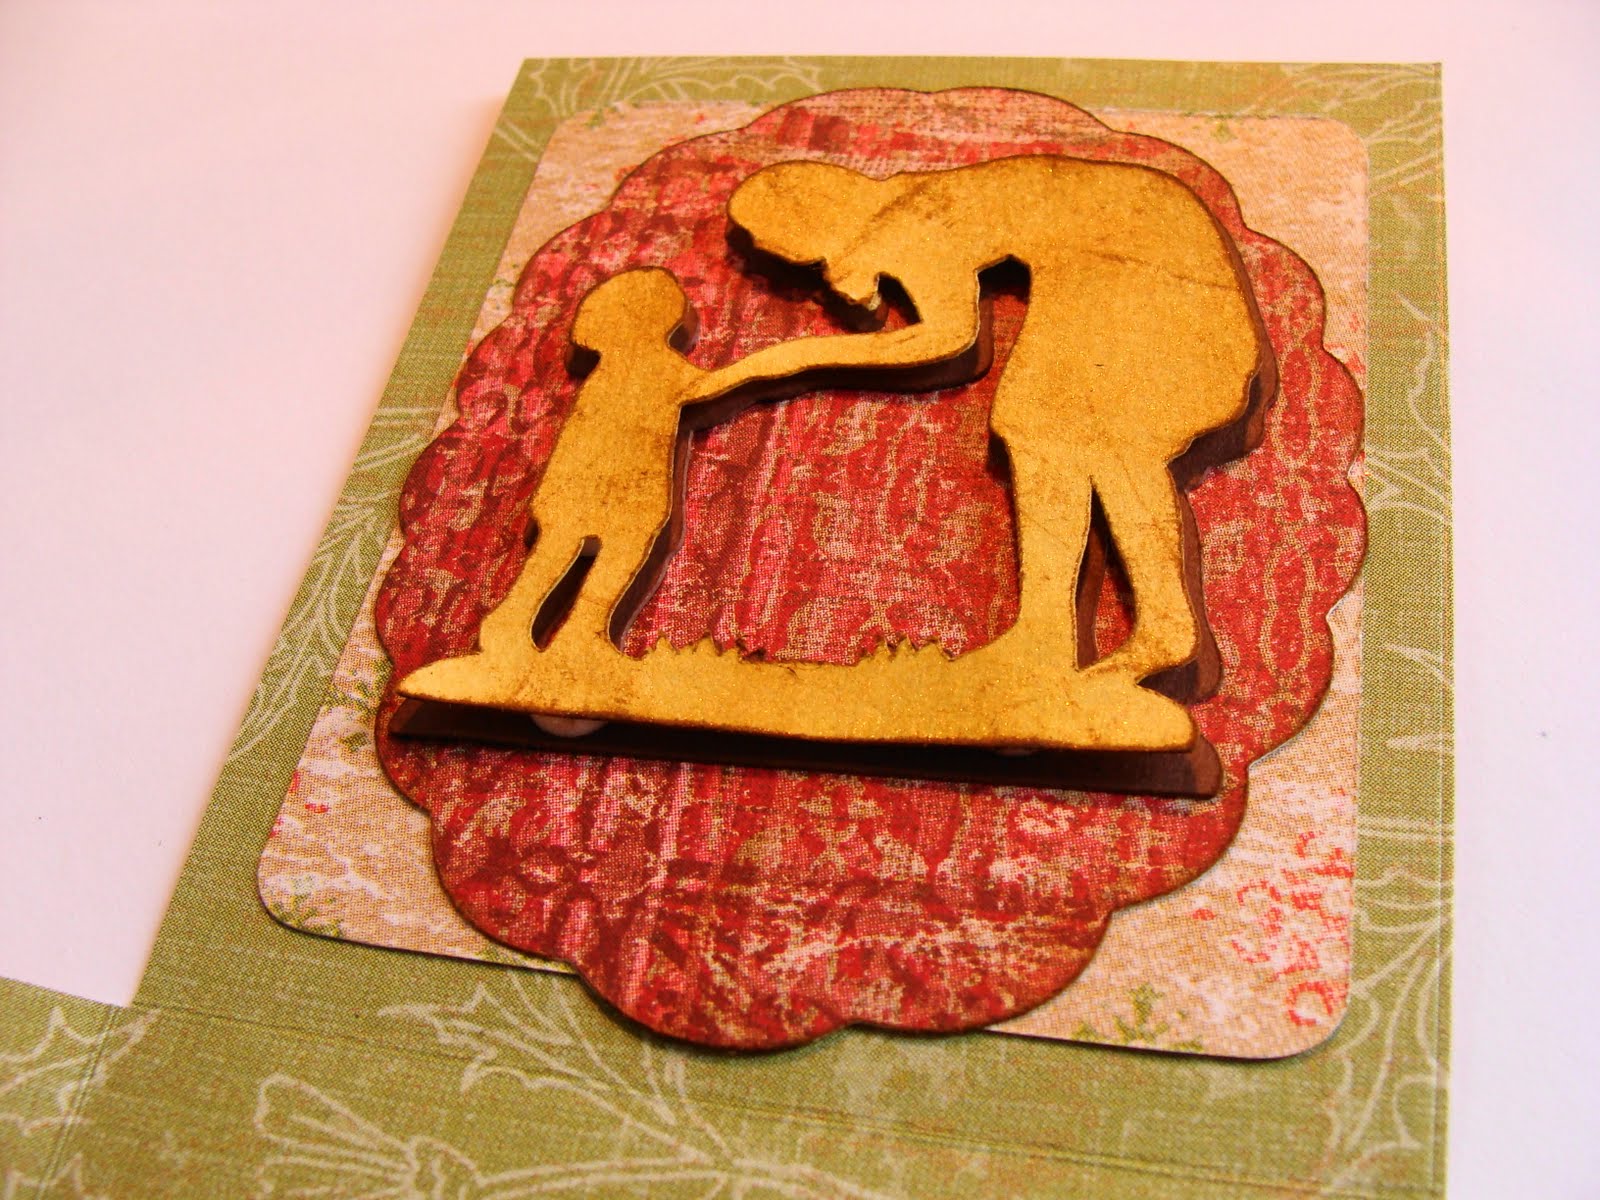
Layer #1 Up close of the Child's Year Cart. cuts & Glimmer Mist

Layer # 1 More of the Child's Year cart. cuts

Layer #2/middle layer All about the heart

More hearts from layer #2/middle layer

Layer #3 Layering and inking and pop dots...

 More of Layer #3 Ribbon and layering and pop dots and rhinestones...

Up close of the handmade roses!


And my wonderful Mom's reaction to it when she opened it!
Happy Mother's Day, Mom!

Well, that is what hers looked like!  I hope you enjoyed the reaveal as much as I did!  Thanks for stopping by and looking at what I have done.  Have a very wonderful day!


Saturday, May 7, 2011

Grandma's Mother's Day

Hello to everyone!  I hope everyone will be having a wonderful weekend and especially a wonderful Mother's  Day!  I can't wait to reveal my projects that I have made for my DM and my MIL.  I know they will love them.  Alot of labor of love!  Either way, I made a card for my DH's Grandma.  This was a result of things leftover from other cards that just may have not gotten used.  So if you want to say, it is made from my "scrap drawer".  Not bad for being made from "scraps", if I do say so myself!  The sparkle and glimmer is just what a mom's card should be.  You can never get to much of that, right!  My oldest daughter may say differently, though!  It is a simple card, yet it turned out very pretty!  I am not sure where everything came from, since it did come from my scraps. 
Things I do know though are:
The ribbon is from Hobby Lobby
Both images are stamps, and I just added "Stickles" to them and of course "Tattered Angeles Glimmer Mist, Mustard". 
And the Cuttlebug folder, Textile.
The bottom edge of the card is cut with a Martha Stewart punch.
 The rest, I am not sure! 
So without further delay, here is the card...


Thanks for looking and may you all have a wonderful Mother's Day!

Wednesday, May 4, 2011

Aslan 14th Birthday

I can't believe it that my oldest daughter is now 14 years old.  She is so full of life and joy.  Well, we had a small celebration for her birthday today...later we will have the bigger one with the grandparents.  She is a huge fanatic of the Narnia series by C.S. Lewis. So naturally, I made "Aslan"! I used the Animal Kingdom cart., and mulberry paper for the mane.  I also used the Gypsy Wanderings cart. for the layers of the sentiment. It is not as beautiful as the "real Aslan", but I think it turned out pretty cute and she loved it and that is all that matters.


Well thanks for stopping by and have a wonderful day!

Sunday, April 24, 2011

A Sneak Peek for Mothers Day!

I am working on a BIG project, (for me it is) for Mothers Day, for my Mom and my Mother-in-Law!  I love challenging myself to see what else I can do and learn.  I love it, and it is so fun and rewarding, in the end!  So these are sneek peaks of what I am doing.  I can't wait to finish them.  Can you guess what it is?  I am so pleased at what I have already done with it.  As of now, the pictures I am posting with this post are just for one, and it is for my Mom.  The other one that I will be doing for my DMIL will be totally different, (upon request from my husband, LOL).  So I can't wait to finish this one and get started on the other.  Well, enjoy the little peak I am giving you for now...The finished product will have to be posted after Mothers Day.  Why?  Because my MIL is a follower!  :-)  LOL
So here it is!


Thanks for taking a peek with me and have a wonderful day!

Saturday, April 16, 2011

Waterfall Birthday Card

This is for my niece who is turning 14 this weekend. I wanted to do something unique yet fun, and I think I found just the card. It turned out way better than I thought that it would. The pictures just don't do it justice at all. The cake looks so yummy, that my 13 year old DD said, "if it doesn't make her cousin want some cake and ice cream, there is something wrong with her." Hahaha! I love my DD! She is my big encourager on doing cards and I think my number one fan! LOL Either way, these waterfall cards are really cool and fairly easy to make, too! If you have never seen one of these, the ribbon at the bottom is to pull and it causes each picture to flip up to see the next one under it. 

What I used:
DCWV sparkle paper (LOVE IT)
Card Stock
Sweet Treats Cartridge for all my cuts of the ice cream cones and the cakes. 
The "charms", grommets and the back ground paper are things that I have had for so long that I don't even remember when or where I got them. 
Then I placed some Stickles on each of the charms (What is a girls card without lots of sparkle!)
I drew the "doodle dots" and "squiggly lines" around each pictures.  


Thanks for stopping by and taking a look! Have a very wonderful day!

Saturday, April 9, 2011

Another Mothers Day Creation

I made another Mothers Day Card for the 7 mothers in my family/life.  Weather they are mother in laws or sister in laws or grandmas or sisters and of course my mother, they all get one from us.  Plus it is a great excuse for me to make cards and spend lots of time crafting away with my favorite things...Ahhh, the smell of paper!  LOL
Well this card is again the same flowers as the ones I posted earlier, only the buds were made by folding/smashing into the shape.  I did not do the centers of the bud because no one would see that part.  These flowers are so beautiful and so simple to make.
  
I used:
Martha Stewart Trellis Punch
Cuttlebug folder "Textile"
Gypsy Font Cartridge for the letters
Velum papers (for instructions on flowers and things used for the flowers, see previous post)
Pink Satin Ribbon (From my stash)
Blue, yellow and pink cardstock
Blue rhinestones


Well, thank you for stopping by and I hope you have a great day!